The Encapsulation Liability
Let us be very precise about what is at stake here, because the financial and aesthetic consequences of poor preparation are severe.
A typical interlock driveway in Etobicoke represents an investment of anywhere from $15,000 to $50,000 or more, depending on size, paver quality, and the complexity of the installation. That investment buys you a beautifully engineered pavement system: precision-cut concrete or natural stone pavers, a calibrated sand bedding layer, a compacted granular base, proper edge restraints, and polymeric sand in the joints. It is a serious piece of civil engineering, and when it is new, it looks extraordinary.
But time, weather, and use take their toll. After three to five years of exposure to Ontario's freeze-thaw cycles, UV radiation, road salt, vehicle traffic, and organic matter, even the finest installation begins to show wear. The color fades. The joints erode. Weeds colonize. Oil drips accumulate. And the natural mineral salts within the concrete migrate to the surface as efflorescence, leaving a powdery white haze that makes even a ten-thousand-dollar driveway look neglected.
This is the moment when most property owners think about sealing. And this is precisely the moment when the critical decision is made—the decision that determines whether your interlock is restored to showroom condition or permanently disfigured.
If you apply sealer now—over the dirt, the oil, the efflorescence, the failing joints, and the embedded organic matter—you are not protecting your investment. You are embalming its deterioration. The sealer will bond to the contaminated surface with the same tenacity it would bond to a clean one. Every stain becomes a permanent feature. Every weed root sealed into a joint becomes a time bomb that will push through the sealer film within weeks. The white haze of efflorescence, which would have been easily removed with a simple acid wash on bare stone, is now chemically imprisoned under an impervious coating that makes remediation ten times more expensive and labor-intensive.
The preparation is the project. The sealing itself takes an hour. The preparation that precedes it? That can take an entire day or more. And it is the preparation—not the sealer—that determines the outcome.
Phase 1: Chemical Extraction and Power Washing
The cleaning stage of a professional interlock restoration is not a rinse. It is not a cosmetic refresh. It is a controlled chemical extraction combined with heavy mechanical force, designed to surgically remove every category of contamination from the paver surface and from deep within the joint profile. Each type of contaminant requires a different approach, and attempting to treat them all with the same product is a fundamental error that guarantees incomplete results.
Organic Contamination: Moss, Algae, Leaf Tannin
The shaded sections of an Etobicoke driveway—the areas beneath mature maple canopies or along the north face of the house where sunlight rarely penetrates directly—are breeding grounds for biological contamination. Moss establishes itself in the joints first, feeding on moisture and decomposing organic matter. Algae follows, spreading a thin green or black biofilm across the paver face that is virtually invisible when wet but becomes a dark, unsightly stain when dry. And every autumn, the decomposing leaves deposit tannin into the pores of the concrete—a deep, rust-brown stain that penetrates far below the surface and does not respond to mechanical cleaning alone.
The treatment protocol begins with a sodium hypochlorite pre-treatment —a controlled application of a professional-grade oxidising solution that kills the biological organisms on contact and breaks down the organic tannin compounds at the molecular level. This is not household bleach diluted in a spray bottle. This is a calibrated chemical application at a concentration sufficient to penetrate the concrete pore structure and neutralise the staining compounds within it. The solution is applied, allowed to dwell for 10 to 15 minutes (depending on severity), and then extracted with the pressure wash. The result is a surface that is not just clean on top, but clean through the material.
Petroleum Contamination: Motor Oil, Transmission Fluid, Hydraulic Leaks
Oil is the most insidious contaminant on a paver surface. Unlike organic stains that sit relatively close to the surface, petroleum products migrate deep into the capillary network of concrete. The porous structure of interlocking pavers essentially wicks the oil inward through capillary action, drawing it down through the surface layer and into the body of the unit. By the time you see a dark spot on your driveway, the oil has already penetrated millimetres into the stone.
Surface washing alone will not extract embedded petroleum. You can pressure wash an oil stain at 4,000 PSI and it will look clean when wet. Four hours later, as the paver dries, the stain reappears—the oil is still inside, migrating back to the surface through vapor pressure. This is called wicking, and it is the reason why so many DIY cleaning attempts appear to work initially but fail within hours.
The professional approach requires a targeted alkaline degreaser —a surfactant-based chemical specifically formulated to emulsify petroleum hydrocarbons within the concrete matrix. The degreaser is applied directly to the contaminated area, allowed to dwell for a minimum of 15 to 20 minutes (and often longer for severe stains), and then agitated with a stiff-bristled brush to ensure the chemical has penetrated to the full depth of the contamination. The emulsified oil is then extracted with a hot-water pressure washer—and the hot water is critical here. Cold water is significantly less effective at lifting oil because the viscosity of the petroleum increases at lower temperatures, making it more resistant to extraction. Hot water at 80°C or above drops the viscosity dramatically, allowing the emulsified hydrocarbon to flow freely out of the pore structure and be flushed away.
For severe or aged oil stains—the kind that have been baking into a paver for three or four summers—a single treatment is often insufficient. We may apply a poultice: a chemical-absorbent paste that is spread over the stain, covered, and left for 24 to 48 hours. The poultice draws the oil upward through osmotic pressure, pulling it out of the stone and into the absorbent medium, which is then scraped away and disposed of. It is slow, painstaking work. It is also the only method that reliably extracts deep-seated petroleum from concrete without physically damaging the surface.
Efflorescence: The White Chalky Ghost
Of all the surface conditions we encounter across Etobicoke's residential streetscapes, efflorescence is simultaneously the most common and the most misunderstood. It appears as a white, powdery, chalk-like deposit on the face of the paver. Homeowners frequently mistake it for paint residue, dried salt, or mould. It is none of these things.
Efflorescence is a natural chemical process. Concrete contains calcium hydroxide —a byproduct of the cement hydration reaction that formed the paver in the first place. When water migrates through the concrete (from rain, snowmelt, or groundwater rising through the bedding layer), it dissolves the calcium hydroxide and carries it to the surface. When the water evaporates, the dissolved calcium reacts with carbon dioxide in the atmosphere and crystallises as calcium carbonate—the white powder you see. It is, in essence, the concrete sweating out its own mineral content.
Minor surface efflorescence on bare, unsealed pavers is cosmetically annoying but largely harmless. Rain and foot traffic will gradually wear it away over time. But if you seal over efflorescence, you have created a serious problem. The sealer traps the calcium carbonate crystals permanently against the paver face, creating a cloudy, whitish haze beneath the coating that is visible from every angle. Worse, the moisture that was driving the efflorescence to the surface is now trapped beneath the sealer film. It cannot evaporate. Instead, it collects at the interface between the sealer and the stone, causing the sealer to blush, delaminate, and peel —often within the first season.
The removal protocol requires a dilute acid wash—typically a phosphoric acid or muriatic acid solution at carefully controlled concentrations. The acid dissolves the calcium carbonate deposits on contact, converting them into a soluble salt that is easily rinsed away with the pressure wash. The acid must be applied at the correct dilution: too weak and it fails to dissolve the deposits; too strong and it can etch the paver surface, damaging the texture and color. The treated area must then be thoroughly neutralised with a rinse to halt the acid reaction and prevent residual chemical from interfering with the sealer's adhesion.
This is precision chemistry performed on your driveway. It is not a task for a garden hose and a bottle of vinegar.
The Mechanical Phase: Commercial-Grade Power Washing
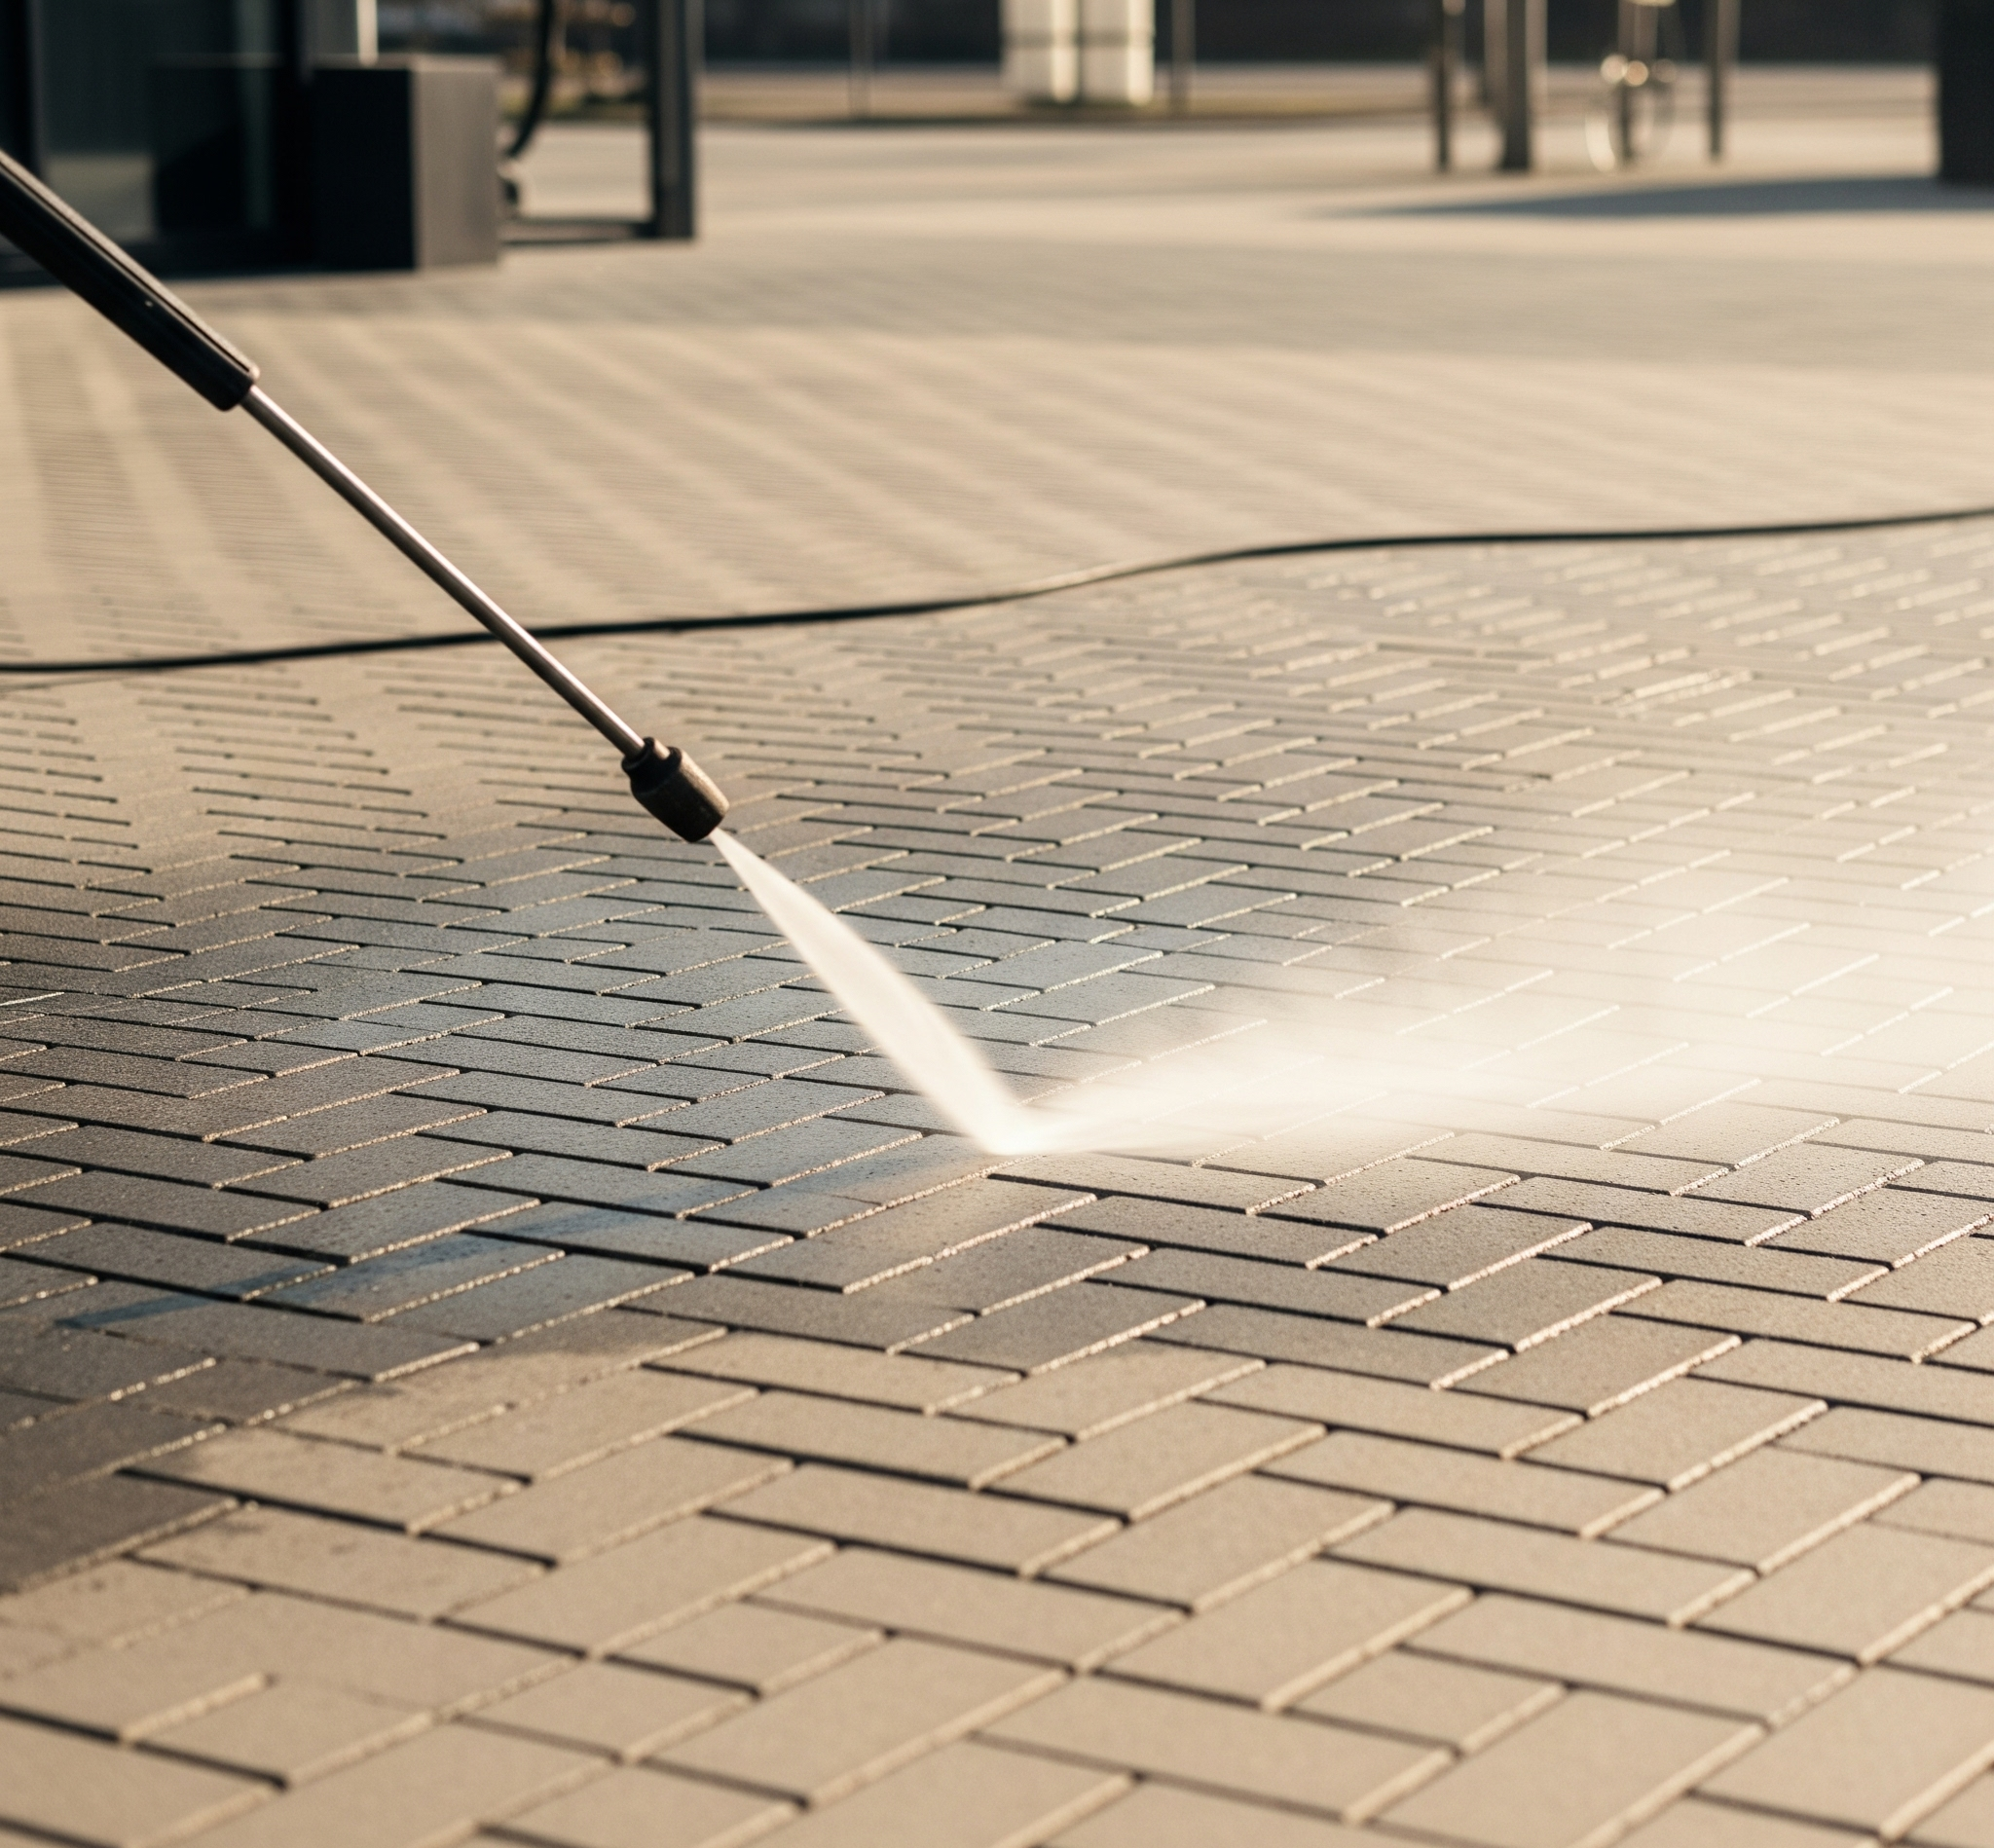
With the chemical pre-treatments completed, the entire surface is subjected to a commercial-grade hot-water pressure wash operating at 3,000 to 3,500 PSI , fitted with a rotary surface cleaner attachment for even, uniform coverage. A wand alone is insufficient for a quality result—it creates overlapping spray marks and uneven cleaning patterns that become visible once the sealer is applied. The surface cleaner distributes pressure uniformly across a wide contact area, lifting contamination evenly and leaving a consistent, clean surface.
This mechanical phase accomplishes two things simultaneously. First, it extracts the chemically treated contaminants—the emulsified oil, the oxidised organic matter, the dissolved efflorescence—flushing them away from the surface and out of the pore structure. Second, it blows out the old joint material . Every grain of the old, failing sand or polymeric fill—along with the weed roots, ant tunnels, and organic debris that have colonised the joints—is expelled under the force of the water jet. The joints are opened to their full depth, clean and ready for reconstruction.
And this brings us to the second critical phase of preparation—the one that most homeowners and many contractors either skip or underestimate entirely.
Phase 2: The Structural Rebuild—Replacing the Joints
Here is something that most seal-and-spray operators will never tell you: a proper deep clean destroys your existing joint material. There is no way to pressure wash a paver surface at the intensity required to extract embedded stains and biological contamination without simultaneously blowing the sand out of the joints. It is physically impossible. The water pressure that extracts moss from a joint is the same water pressure that displaces the sand around it. This is not a flaw in the process—it is an inherent and unavoidable consequence of doing the cleaning properly.
An interlock surface with empty or partially filled joints is structurally compromised. The joints are not aesthetic lines between the pavers; they are load-transfer mechanisms. The sand (or polymeric sand) in the joint transmits lateral force from one paver to the next, distributing vehicle loads across the entire pavement system rather than concentrating them on individual units. When the joints are empty, the pavers become independent floating units. They shift under traffic. They rock. They separate. The edges chip as they strike each other under load. The entire system begins to degrade from the joints inward.
This is why a professional interlock preparation is not just a cleaning service—it is a full structural restoration. The joints must be rebuilt before the sealer is applied. And the material used for that rebuild matters enormously.
The Drying Window: Patience Is Not Optional
Between the power wash and the sand installation, the surface must dry completely. Not "mostly dry." Not "dry on the faces but still damp in the joints." Completely dry. This typically requires a minimum of 24 to 48 hours of dry, warm weather after the wash is completed.
The reason is twofold. First, polymeric sand must be installed into dry joints. If the joint cavity contains residual moisture, the polymeric binders can activate prematurely during installation, before the sand has been fully swept in and compacted. This creates a partial, uneven cure—bonded sand near the surface with loose, unbonded material beneath. The joint appears solid but is structurally compromised from the inside. Second, the paver surface itself must be dry because excess water on the face will activate the polymeric sand as it is being swept across the pavers, bonding it permanently to the stone surface and leaving a rough, hazy film that is extremely difficult to remove once cured.
We monitor weather forecasts meticulously. If rain threatens within the drying window, we defer the sand installation. If temperatures drop below 10°C—which slows evaporation significantly—we extend the drying window accordingly. Rushing this step is the single most common cause of sand haze on paver faces, and it is entirely avoidable with proper scheduling.
Installing Fresh Polymeric Sand
With the surface verified dry, fresh, premium-grade polymeric sand is swept into every joint. We use a stiff-bristled push broom to distribute the material evenly, working it deep into the joint profile. The pavers are then mechanically compacted with a plate compactor fitted with a rubber pad—this vibration drives the sand to the bottom of the joint, eliminating air pockets and achieving maximum density. Without compaction, the sand sits high in the joint with voids beneath it—a recipe for settlement and washout within the first heavy rain.
After compaction, excess sand is meticulously blown off the paver faces with a leaf blower. Every grain must be removed. The pavers must be surgically clean before the water activation step, because any polymeric residue on the face will bond permanently when misted and leave a textured haze that cannot be cleaned without chemical stripping.
A controlled water mist is then applied to activate the polymer binders—a gentle, even saturation that triggers the cross-linking reaction without displacing the sand from the joints. The sand begins to cure, hardening into a semi-rigid matrix that locks the pavers together, resists water penetration, prevents weed germination, and deters insect excavation.
And then we wait again. A minimum of 24 to 72 hours for the polymeric sand to achieve full cure before the sealer is applied. Two separate drying and curing windows. Two separate exercises in patience. This is why a properly executed interlock restoration in Etobicoke is not a one-day service. It is a multi-day, sequenced engineering project. Anyone who tells you they can wash, sand, and seal your driveway in a single afternoon is cutting corners that will cost you significantly more to correct later.
Phase 3: Sealer Application—The Final Encapsulation
Only now—with the surface chemically cleaned, the joints structurally rebuilt, the polymeric sand fully cured, and the pavers bone dry—do we open the sealer. By this point, the hardest work is already done. The sealer is the final protective membrane, the clear coat that encapsulates the entire restored system.
We apply the sealer using the spray-and-back-roll method: a pump sprayer lays down a fine, uniform mist across the surface, and a crew member follows immediately behind with a solvent-resistant 3/8-inch nap roller, working the product into the paver texture and smoothing any pooling or inconsistencies. Two thin coats with proper flash-off time between them. The first coat penetrates the pore structure and anchors to the stone. The second coat builds the surface film—the glossy, protective layer that provides UV resistance, stain repellency, and the deep color enhancement that transforms a worn driveway back into a showpiece.
Because the surface beneath the sealer is now forensically clean, the result is flawless. No trapped dirt. No sealed-in oil stains. No efflorescence ghost showing through. No weed roots waiting to punch through. Just clean stone, solid joints, and a perfect, deeply enhanced wet-look finish that reads as unmistakably premium from the curb.
That is the difference between preparation and negligence. That is the difference between a five-year restoration and a five-week failure.
The Cinintiriks Standard for Interlock Preparation
At Cinintiriks, we do not spray and seal. We do not offer "quick clean" packages that skip the chemistry, rush the drying, or ignore the joints. We execute surgical hardscape restoration—a fully sequenced engineering process that treats every interlock surface as the serious civil investment it is. Here is our protocol for every paver restoration project in Etobicoke and across the GTA.
1. Comprehensive Site Assessment: We walk the entire surface and document every condition: oil stains, efflorescence zones, organic contamination, joint erosion, paver settlement, edge restraint integrity, and drainage function. We photograph the existing state and develop a targeted treatment plan. If structural repairs are needed—sunken pavers, failed edge restraints, cracked units—those are addressed before the restoration sequence begins.
2. Targeted Chemical Pre-Treatment: Each category of contamination receives its own chemical protocol. Sodium hypochlorite for biological growth. Alkaline degreasers for petroleum. Dilute acid solutions for efflorescence. Tannin-specific oxidisers for leaf staining. Each chemical is applied at calibrated concentrations, allowed to dwell for the prescribed duration, and then extracted during the wash phase. We do not use a one-size-fits-all cleaning product.
3. Commercial-Grade Hot-Water Pressure Wash (3,500+ PSI): The entire surface is washed with hot-water equipment fitted with a rotary surface cleaner. Every contaminant is extracted. Every joint is opened to full depth. The surface is left forensically clean, with no residual chemical, no embedded staining, and no remaining organic matter.
4. Monitored Drying Period (24–48 Hours): The surface is left to dry completely under monitored weather conditions. We do not proceed to sand installation until the pavers and joint cavities are verified dry. If weather intervenes, we reschedule. No exceptions.
5. Premium Polymeric Sand Installation: Fresh, professional-grade polymeric sand is swept into every joint, mechanically compacted, meticulously cleaned from the paver faces, and water-activated. We select the sand color deliberately—Charcoal, Granite Grey, or Natural Beige—based on the paver color and the client's aesthetic preference. The joints are structural components and architectural accent lines, and we treat them as both.
6. Polymeric Sand Cure Period (24–72 Hours): The sand is left to fully cure under dry conditions before any sealer is applied. We monitor forecasts continuously and will defer the sealing phase if precipitation threatens during the cure window.
7. Two-Coat Premium Sealer Application: A professional-grade paver sealer is applied via the spray-and-back-roll method. Two thin, uniform coats with proper flash-off time. The sealer encapsulates the clean stone and cured joints as a single, unified system—providing UV protection, stain resistance, color enhancement, and water repellency. The result is a deeply enhanced, wet-look finish that looks brand new and is built to survive the Ontario winter.
8. Final Walkthrough & Maintenance Guidance: We walk the completed project with the homeowner, verifying quality at every point. We provide detailed care instructions covering seasonal cleaning protocols, de-icing product selection, and expected reseal intervals to protect the investment long term.
This is what we mean by The Cinintiriks Standard. It is not a slogan. It is a rigid, sequential protocol that governs every project we execute. It takes more time than what most operators deliver. It costs more upfront. And it produces results that are structurally sound, visually flawless, and engineered to last. Our clients across Etobicoke and the broader GTA have come to expect nothing less.
"Preparation is not the first step of sealing. Preparation is the entire project. The sealing is just the final five percent."
Why Most "Seal and Spray" Services Fail
We need to address this directly, because it is the reality of the market and it explains why so many sealed driveways across the GTA look worse after treatment than they did before.
The business model of the average driveway sealing operator is built on volume, not quality. Wash a driveway with a consumer-grade pressure washer for 30 minutes, spray sealer on wet stone, collect a cheque, and move to the next house. Four or five driveways a day. No chemical pre-treatment. No joint restoration. No drying period. No polymeric sand. No second coat. The price is low because the process is incomplete.
What the homeowner receives is a glossy surface that looks spectacular for approximately two weeks. Then the trapped moisture begins to push back. The efflorescence that was sealed in starts clouding the finish. The oil stains reappear as dark shadows beneath the coating. The weeds in the joints—their root systems still intact beneath the sealer film—push through within a month. The sealer peels along the joint lines first, then lifts in patches across the field. By the following spring, the driveway looks worse than it did before the service was performed, and the homeowner is facing a strip-and-redo that costs three to four times more than a proper preparation would have.
The preparation is not an optional add-on. It is not a premium upgrade. It is the foundation upon which the entire outcome depends. Without it, you are not sealing your driveway. You are sealing your problems in.
FAQ: Preparing Interlock for Sealing
How long do I need to wait after pressure washing before I can safely seal my interlocking pavers?
The minimum drying window is 24 to 48 hours of continuous dry, warm weather after the pressure wash is completed. The concrete must be dry not just on the surface, but through the full depth of the paver and within the joint cavities. In cooler temperatures (below 15°C) or in humid conditions, this window should be extended to 72 hours or more. The reason is fundamental: if you apply a film-forming sealer over concrete that contains residual moisture, the trapped water will try to evaporate through the sealer film as temperatures rise. It cannot escape, so it collects at the interface between the stone and the sealer, scattering light and turning the clear coating a milky, cloudy white. This is called blushing, and it is irreversible without a full chemical strip. If you are also installing polymeric sand (and you should be), you need an additional 24 to 72 hours of dry weather after the sand activation for the polymeric binders to cure. In total, a properly sequenced restoration typically spans three to five days from wash to final seal coat. There is no shortcut to this timeline.
What is the white chalky powder on my paving stones, and how do I remove it before sealing?
That white, powdery deposit is efflorescence—a crystallised mineral salt called calcium carbonate. It forms when water passes through or beneath the concrete paver, dissolves the naturally occurring calcium hydroxide in the cement matrix, and carries it to the surface. When the water evaporates, the dissolved calcium reacts with atmospheric carbon dioxide and deposits as a white crystalline powder. It is not mould, not paint, and not salt residue—it is the concrete's own mineral content migrating outward. On bare, unsealed pavers, efflorescence is a cosmetic nuisance that generally diminishes over time as the available calcium is depleted. However, it must be completely removed before sealing. If sealed in, it creates a permanent white haze beneath the coating that cannot be corrected without a full strip. Removal requires a dilute acid wash —typically phosphoric acid or muriatic acid at carefully controlled concentrations—which dissolves the calcium carbonate on contact. The treated surface is then thoroughly rinsed and neutralised. This is not a scrub-and-rinse task; it is a controlled chemical reaction that demands correct dilution ratios, dwell times, and rinse protocols to avoid surface etching. Professional execution is strongly recommended.
Can high-pressure washing actually damage the surface of older concrete pavers?
Yes, it absolutely can, and this is a legitimate concern. Older concrete pavers—particularly those that have been exposed to years of freeze-thaw cycling, salt damage, or UV degradation—may have a surface layer that is partially spalled, delaminated, or softened. The aggregate bond at the face of the paver has weakened, and the surface is more vulnerable to mechanical disruption than a new unit would be. Pressure washing these pavers with a concentrated wand at close range and high pressure can strip the weakened surface layer entirely, exposing the raw aggregate beneath and creating visible scarring or pitting. This is why technique and equipment choice matter enormously. We use a rotary surface cleaner rather than a direct wand for field washing. The surface cleaner distributes pressure evenly across a wide contact area, delivering the cleaning force without the concentrated impact of a direct jet. For pavers that show signs of surface degradation, we reduce the operating pressure and increase the water temperature and chemical dwell time to compensate—achieving the same cleaning result through chemistry rather than brute mechanical force. The assessment of each surface's condition is part of our initial site evaluation, and we adjust our approach accordingly. A responsible operator never applies maximum pressure indiscriminately.
The Final Word
Preparing an interlock surface for sealing is not a cleaning task. It is a multi-phase civil restoration process that requires targeted chemical extraction, commercial-grade mechanical washing, complete joint reconstruction, multiple curing periods, and a level of patience and precision that most spray-and-seal operators simply do not provide.
The preparation determines the outcome. Skip it, rush it, or do it incompletely, and you will permanently encapsulate every defect on your driveway under a glossy film that makes remediation exponentially more difficult and expensive. Do it right—methodically, chemically, structurally—and you will seal a flawless surface that looks brand new and stays that way for years.
Don't ruin your luxury hardscaping by sealing over stains and weeds. Contact Cinintiriks for heavily engineered, structurally flawless paver restoration and sealing in Etobicoke.