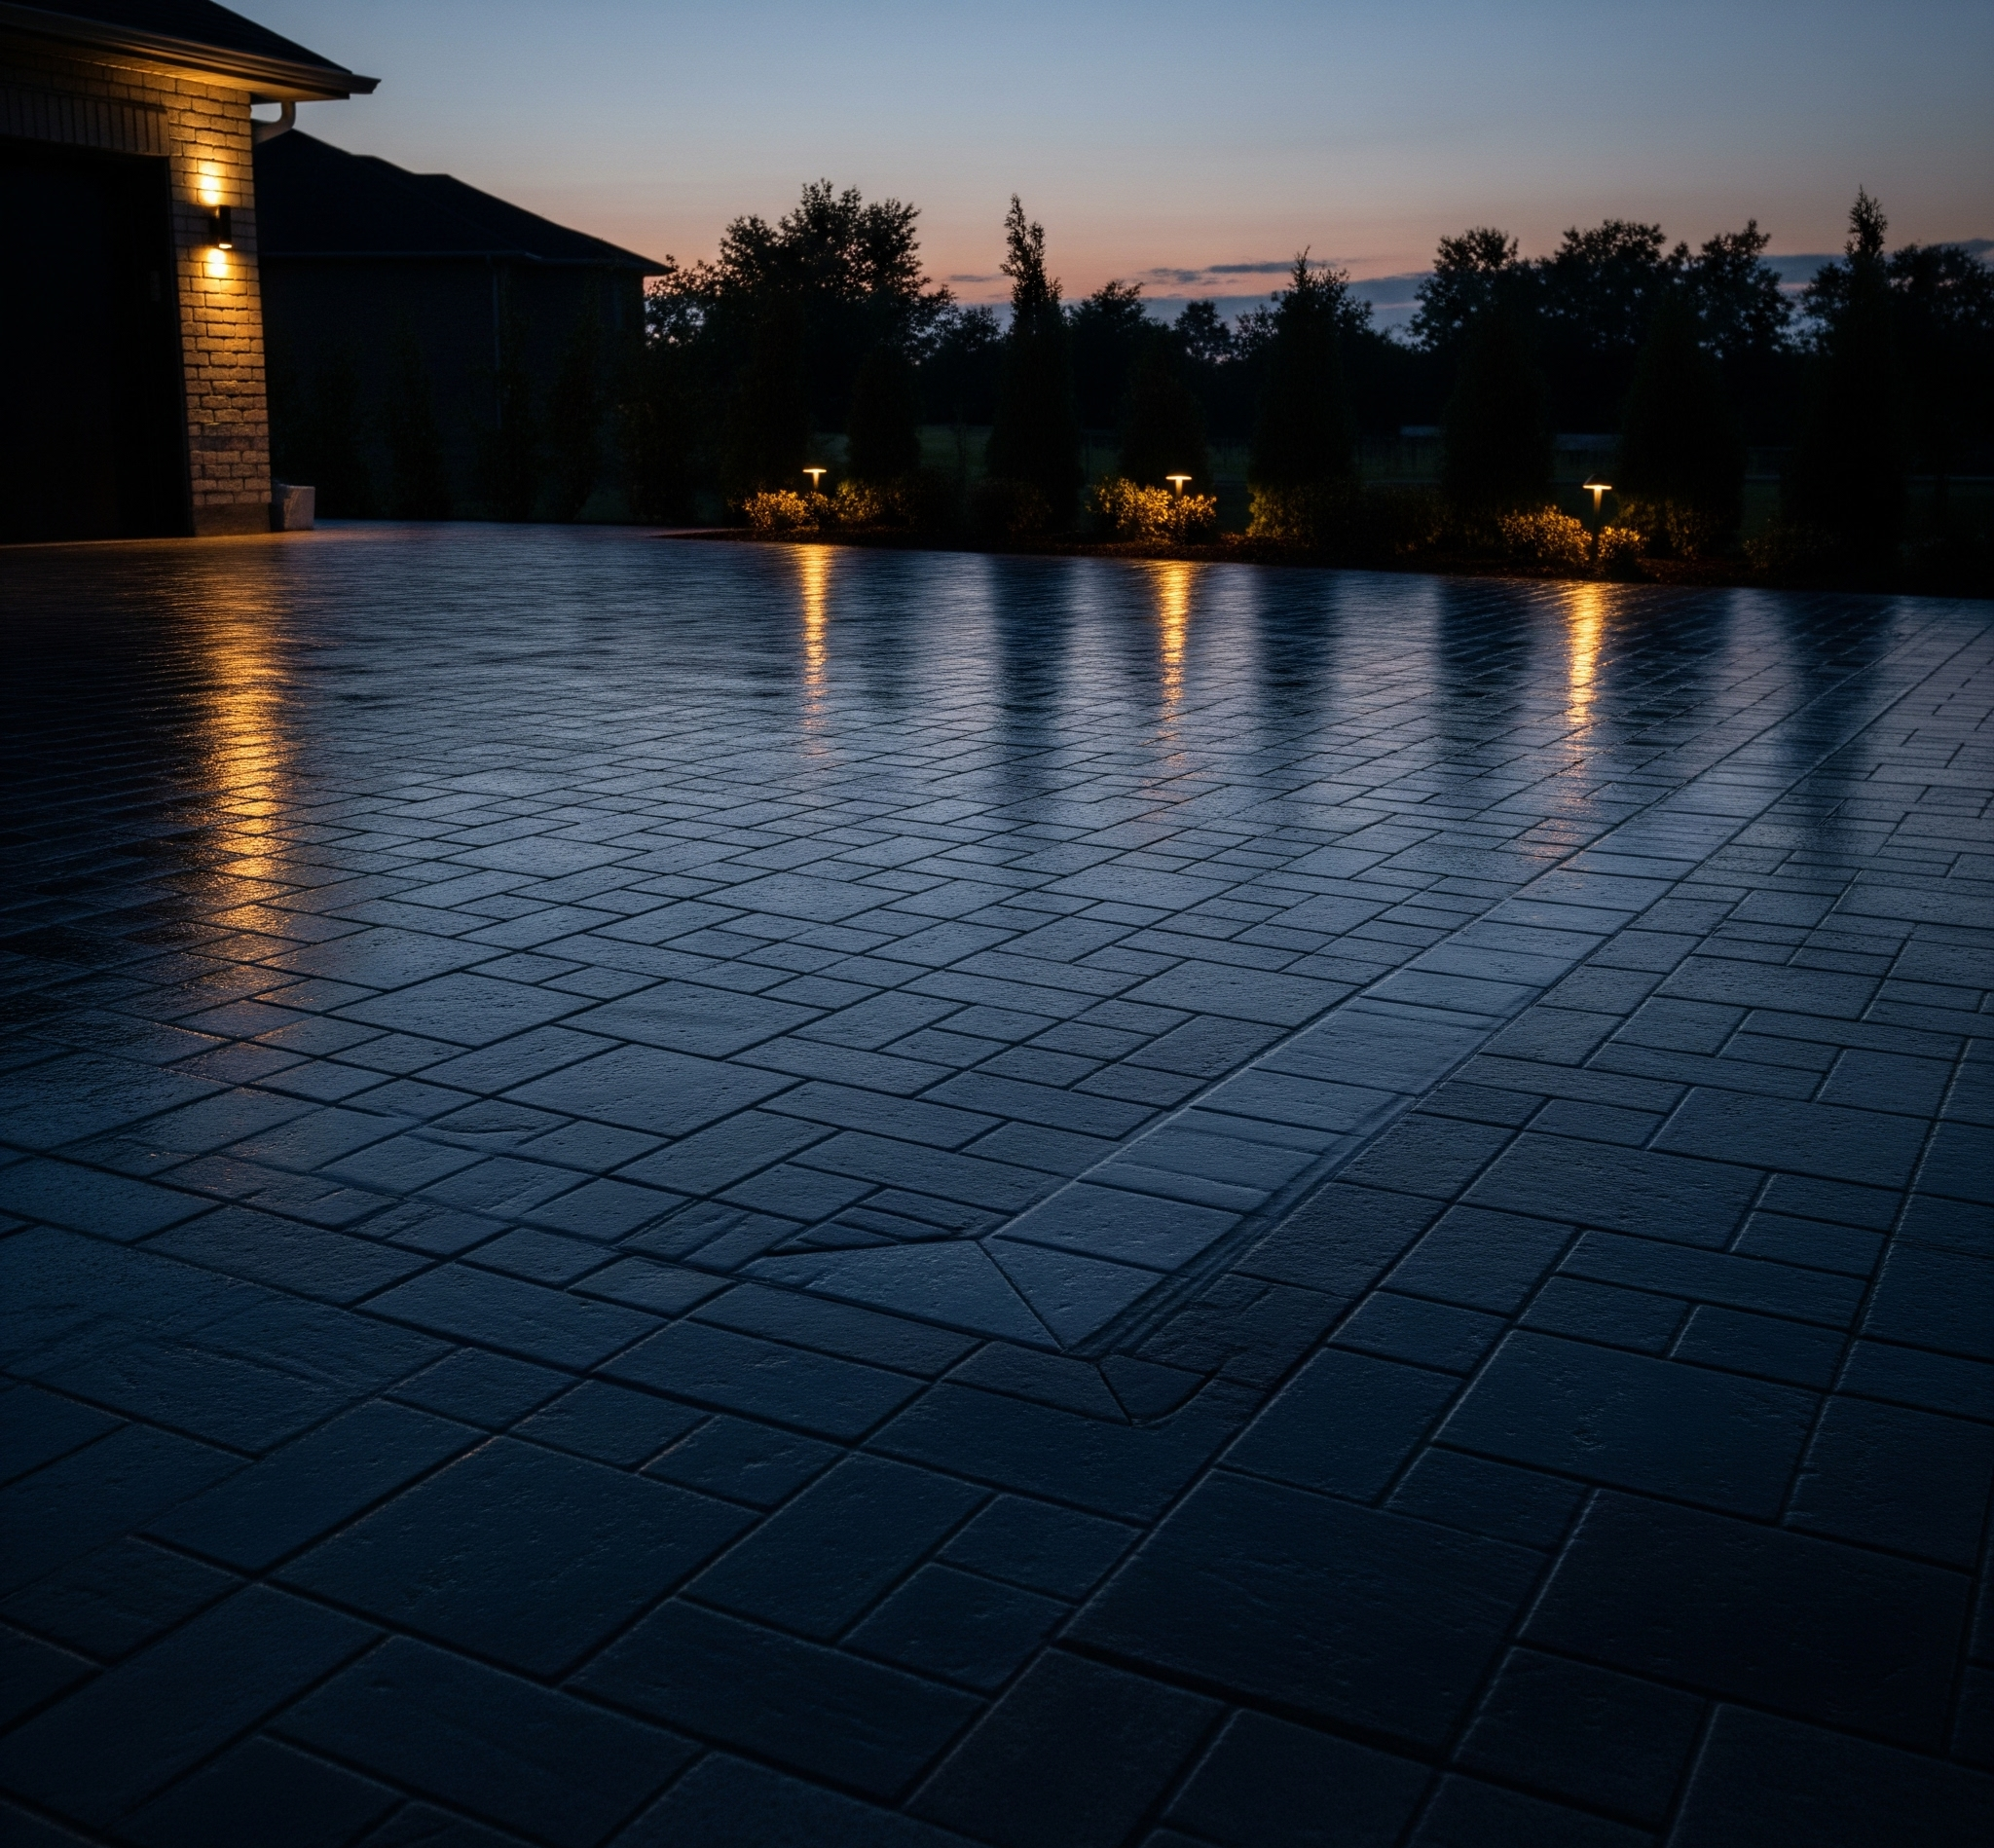
The Armor of Your Investment
Think of your stamped concrete the way you would think of a luxury automobile. The steel body, the engineering beneath the hood—that's the concrete slab. It's strong, structural, and built to last decades. But the paint job? The clear coat that gives it that showroom depth and protects the metal from rain, salt, and UV radiation? That's your sealer. Without it, the underlying asset is exposed, vulnerable, and depreciating.
Stamped concrete without a functioning sealer is essentially unfinished work. The pores of the concrete are open, absorbing water, road salt, oil drips, and organic matter. In a climate as punishing as Ontario's—where we routinely swing from minus twenty in January to plus thirty-five in July—that unprotected surface is being attacked by freeze-thaw cycles, UV radiation, and chemical erosion simultaneously. The color fades. The texture flattens. The investment erodes, silently and steadily.
The High Stakes of Resealing
Here is where things get delicate, and this is precisely why we wrote this guide. Pouring concrete is heavy labor. It's physical, demanding work. But sealing concrete? Sealing is pure chemistry. The margin for error is razor thin, and the consequences of getting it wrong are not just disappointing—they're catastrophic.
We've been called to properties across Vaughan where homeowners, often with the best of intentions, purchased a bucket of sealer from a hardware store on a Saturday morning and rolled it on themselves. By Sunday afternoon, the entire driveway had turned a milky, opaque white. Or the surface was bubbling. Or it was peeling off in sheets like sunburned skin. What was supposed to be a quick weekend refresh turned into a multi-thousand dollar correction project. The sealer had to be chemically stripped—an arduous, costly process—before a proper application could even begin.
The fundamental truth is this: resealing stamped concrete is not a "maintenance task" in the way that mowing your lawn or cleaning your gutters is. It is a controlled chemical application that demands the right product, the right conditions, and the right technique. Skip any one of those three pillars, and you will make your driveway look worse than if you had done nothing at all.
Phase 1: The Preparation (Where 90% of Failures Happen)
If you take nothing else away from this entire guide, take this: preparation is not the first step of sealing. Preparation is the job. The actual act of applying sealer takes an hour. The preparation that precedes it can take an entire day, and it determines the outcome of the project entirely. This is where amateurs fail, and it's where professionals earn their reputation.
The Deep Clean: Removing the Invisible Enemy
Before a single drop of sealer touches your concrete, the surface must be surgically clean. And we don't mean "garden hose" clean. We mean forensically clean. There is an absolute, non-negotiable reason for this: anything that is on the surface when you seal will be permanently locked in.
Imagine pressing a piece of clear packing tape onto a dusty countertop. The dust doesn't disappear; it's now visibly trapped under the adhesive. That is precisely what happens when you apply sealer over a dirty surface. Every grain of dirt, every leaf stain, every tire mark, every oil drip becomes a permanent feature under a glossy, transparent prison. You haven't protected the concrete; you've laminated the grime.
The proper cleaning protocol involves a commercial-grade pressure washer operating at a minimum of 3,000 PSI with a surface cleaner attachment. A wand alone creates "tiger striping"—those telltale lines where each pass of the wand overlaps. A surface cleaner distributes the pressure evenly, lifting embedded dirt uniformly across the entire slab. For stubborn organic stains—leaf tannin, moss, algae—a pre-treatment with a sodium hypochlorite solution (essentially a controlled bleach application) is necessary to break down the biological matter before the pressure wash removes it.
Oil stains require even more aggressive intervention. Petroleum doesn't just sit on concrete; it migrates into the capillary network of the pores. A standard degreaser may lift the surface sheen, but the oil remains deep within the matrix. We use a poultice technique for severe spots—applying a chemical draw that pulls the oil upward over 24-48 hours—followed by a secondary pressure wash. If oil remains when the sealer is applied, two things happen: the sealer will not bond to the contaminated area (leading to delamination and peeling), and the oil will darken visibly under the transparent coating, creating a permanent blemish.
The Moisture Trap: Understanding "Blushing"
This is, without exaggeration, the single most common cause of sealer failure in the GTA. It's called blushing, and the physics behind it are elegant in their simplicity and devastating in their consequence.
Concrete is not a solid, impervious monolith. Under a microscope, it is a labyrinth of interconnected pores and capillaries. These channels naturally hold moisture—from groundwater migrating upward through the slab (known as moisture vapor emission), from the morning dew cycle, or simply from a recent rainstorm. When you apply a film-forming sealer (which is what acrylic sealers are) over concrete that contains residual moisture, you are essentially sealing a wet sponge inside a plastic bag.
What happens next is inevitable. The moisture beneath the sealer tries to evaporate. It's driven by the thermal energy of the sun and by natural vapor pressure differentials. But it cannot escape through the sealer film. So it collects at the interface between the concrete and the sealer, forming microscopic water droplets. These droplets scatter light, turning the once-clear sealer coat a cloudy, milky white. This is blushing. And it doesn't just look terrible; it fundamentally compromises the adhesion of the sealer to the substrate. Within weeks, the blushed sealer begins to lift, flake, and peel in sheets.
The rule is unambiguous: the concrete must be bone dry for a minimum of 24-48 hours before sealing. Not "mostly dry." Not "dry on top." Bone dry. This means checking the weather forecast not just for the day of application, but for the 48 hours prior and the 24 hours following. Any rain within that window is a disqualifier. Additionally, the concrete surface temperature must be above the dew point to prevent condensation from forming on the surface during application. We measure both ambient air temperature and concrete surface temperature with an infrared thermometer before we begin. If the numbers don't pass, we reschedule. No exceptions.
Stripping the Old Sealer: The Step Most People Skip
Here is another critical step that separates a professional reseal from a DIY disaster: you cannot simply roll fresh sealer over old, degraded sealer and expect a good result. If the existing coat is chalky, flaking, whitened, or delaminating in any area, applying new sealer on top of it is building on a failed foundation. The new coat will bond to the old coat—not to the concrete. When the old coat continues to fail (and it will), it takes the new coat with it.
The proper protocol is a full chemical strip using a xylene or methylene chloride-based sealer stripper. This softens the old acrylic film, allowing it to be scraped and pressure washed away, exposing the raw, clean concrete beneath. Only then can the new sealer achieve a true, molecular bond to the substrate. This step alone can add 3-5 hours to the project and requires proper ventilation and personal protective equipment. It is labor-intensive, unglamorous work. It is also absolutely essential.
Phase 2: Choosing the Right Chemistry & Safe Application
With the surface properly prepared, we arrive at the decision that defines everything: which sealer do you apply? Walk into any building supply store and you will be confronted with a bewildering wall of options. Water-based, solvent-based, acrylic, polyurethane, epoxy, penetrating, film-forming. The labels are confusing by design. Let us cut through the noise.
Water-Based vs. Solvent-Based: The Great Debate
For decorative stamped concrete—and we cannot stress this strongly enough—the correct choice for a luxury aesthetic is a high-solids, solvent-based acrylic sealer. Let us explain why, and let us explain what the alternative actually is.
Water-based acrylic sealers are the budget option. They use water as the carrier vehicle for the acrylic resin. They are low-odor, low-VOC, and inexpensive. They are also the sealers that fill the shelves at hardware stores because they are easy to market to homeowners as "user-friendly" and "eco-friendly." But there is a fundamental performance limitation: water-based sealers deposit their resin on the surface as discrete particles. These particles coalesce into a film, but the film is inherently porous and thin. It provides a matte to semi-gloss appearance, minimal color enhancement, and poor durability against UV degradation and abrasion. In a nutshell: it does not produce the deep, rich "wet look" that makes stamped concrete look like authentic stone, and it wears off rapidly.
Solvent-based acrylic sealers use a petroleum-based solvent (typically xylene or acetone) as the carrier. This solvent penetrates into the concrete pores, carrying the acrylic resin deep into the capillary structure. As the solvent evaporates (known as "flashing off"), it leaves behind a dense, continuous, non-porous film that is both mechanically bonded to the interior of the pores and layered across the surface. The result is a dramatically deeper color enhancement, a high-gloss "wet look" finish, and significantly superior resistance to UV breakdown, chemical attack, and physical abrasion.
The difference in appearance is not subtle. It is transformative. A freshly sealed stamped driveway with a quality solvent-based acrylic looks like polished stone. The same driveway sealed with a water-based product looks like concrete with a slightly damp surface. For a homeowner who has invested $15,000 to $30,000 in a premium stamped concrete installation, choosing a $30 bucket of water-based sealer to "protect" it is architectural malpractice.
Understanding "Solids Content"
Not all solvent-based sealers are created equal. The performance metric that matters most is solids content—the percentage of acrylic resin that remains on the surface after the solvent evaporates. A typical hardware store solvent sealer might be 15-18% solids. A professional-grade product runs 25-30% solids.
Why does this matter? Because higher solids content means a thicker, more durable film per coat. A 25% solids sealer applied in two coats deposits nearly double the protective material of a 15% solids product applied the same way. This translates directly into longevity. A low-solids sealer may begin to visibly wear in 12-18 months. A high-solids professional product can maintain its integrity for 3-5 years in our climate.
However, there is a critical counter-intuitive caveat: more is not better when it comes to application thickness. Applying sealer too heavily—particularly in a single, thick coat—traps solvent beneath the curing film. As that trapped solvent tries to escape, it pushes upward, creating bubbles, pinholes, and a rough, orange-peel texture. The correct technique is two thin, even coats with proper flash-off time (typically 2-4 hours) between them. The first coat is the "penetrating" coat that saturates the pores. The second coat is the "building" coat that creates the smooth, glossy surface film.
The Anti-Slip Mandate: A Matter of Life and Safety
Now we arrive at a point that is not merely aesthetic; it is a genuine safety concern. A freshly sealed stamped concrete surface, particularly one sealed with a high-gloss solvent-based acrylic, can become dangerously slippery when wet. We are talking about a coefficient of friction that drops to levels comparable to wet tile or polished marble. In a climate where rain and melting snow are constant companions for six months of the year, this is not a minor inconvenience. It is a liability.
The solution is a microscopic anti-slip grip additive—a polymer-based microsphere or aluminum oxide powder that is mixed directly into the final coat of sealer before application. These particles are so fine that they are virtually invisible to the naked eye; they do not cloud the gloss or diminish the color depth. But they create a subtle surface texture that dramatically increases traction underfoot, even when the surface is soaking wet.
This is not an optional enhancement. In our professional opinion, any sealed stamped concrete surface that does not incorporate an anti-slip additive is an incomplete and potentially hazardous installation. We include it in every single project, without exception. The cost is negligible. The protection is invaluable. And in a worst-case scenario, it is the difference between a confident stride and a slip-and-fall injury on your own property.
Application Technique: The Spray-and-Back-Roll Method
The method of application matters as much as the product itself. We use a technique called spray-and-back-roll. A pump sprayer lays down a uniform mist of sealer across the surface. Immediately behind it, a crew member follows with a 3/8-inch nap roller, working the sprayed sealer into the surface and smoothing any puddles or inconsistencies. This achieves two things: the spray ensures even, thin coverage across the textured stamped surface (rollers alone tend to skip the low points of the texture pattern), and the back-roll ensures a smooth, bubble-free film without excess product pooling in the joints.
Timing is everything. We begin application only when the concrete surface temperature is between 10°C and 30°C. Below 10°C, the solvent evaporates too slowly, leading to clouding and improper curing. Above 30°C, the solvent flashes off too quickly, preventing proper penetration and causing the sealer to "skin over" before it bonds. This is why the ideal sealing window in Ontario falls between late April and early June, or September through mid-October. The summer months—July and August—are often too hot for reliable application during peak afternoon hours.
The Cinintiriks Approach: Engineering the Solution
At Cinintiriks, our resealing service is not a man with a roller and a bucket. It is a full restorative engineering process built on what we call The Cinintiriks Standard.
Every resealing project follows a strict, sequential protocol:
1. Initial Assessment & Moisture Testing: We test the concrete for moisture vapor emission using the plastic sheet method (ASTM D4263) and measure surface temperature with a calibrated infrared thermometer. If the slab fails the moisture test, we defer the project—no matter how inconvenient it may be for the schedule. We do not seal wet concrete under any circumstance.
2. Commercial-Grade Pressure Wash (3,500+ PSI): We use a hot-water surface cleaner to remove all surface contamination: dirt, oil, leaf tannin, algae, and efflorescence. For chemically stained areas, we pre-treat with targeted degreasers and oxidizers.
3. Chemical Neutralization & Old Sealer Removal: If the existing sealer is compromised, we chemically strip it to bare concrete with a professional xylene-based stripper. We then neutralize the surface pH to ensure the new sealer achieves maximum adhesion.
4. 48-Hour Drying Period: The slab is left to dry completely. We monitor weather conditions and will not proceed until the surface and forecast conditions are confirmed suitable.
5. Two-Coat Application of High-Solids Solvent Sealer (25%+ Solids): Our first coat penetrates and anchors. Our second coat builds and glosses. Both coats are applied via the spray-and-back-roll method for uniform, bubble-free coverage. The second coat incorporates our proprietary anti-slip grip additive as standard.
6. Slip-Coefficient Verification: On completion, we verify that the treated surface meets an acceptable wet slip-resistance threshold. This is not a "nice to have"—it is a fundamental safety guarantee that protects you, your family, and your guests.
"Sealing concrete is not maintenance. It is chemistry. Approach it with the precision it demands, or don't approach it at all."
Common Mistakes and How to Avoid Them
Let us walk through the most frequent errors we encounter when assessing failed DIY seal jobs across the GTA. Each one is entirely avoidable with proper knowledge.
Mistake 1: Sealing in Direct Sunlight
When the concrete surface is baking in full sun, its temperature can climb to 50°C or higher. Applying solvent-based sealer to a surface this hot is like trying to paint a frying pan. The solvent evaporates on contact, before the resin has any chance to penetrate the pores. The result is a thin, brittle film that sits on top of the concrete rather than bonding into it. It looks fine for about a week. Then it starts to peel.
The professional approach: seal early in the morning when the surface has cooled overnight but the sun is beginning to warm the air. Or seal in the late afternoon when the slab is cooling, with no rain in the forecast. The concrete should be warm to the touch, not hot.
Mistake 2: Applying Too Much Product
Human instinct says "more protection equals more product." With sealers, the opposite is true. Over-application creates a thick, plastic-like film that traps air and solvent. The surface bubbles. It goes milky. It develops a sticky, tacky feel that never fully cures. We have seen driveways that looked like they had been coated in thick, congealed syrup—and the homeowner's reaction was to add yet another coat on top, compounding the disaster.
Two thin coats. Always. The surface should be wet and glistening during application, not puddling.
Mistake 3: Using the Wrong Roller
A thick-nap roller holds too much product and deposits it unevenly. It leaves behind roller marks and drip lines that cure permanently into the surface. Stamped concrete has deep texture grooves; a thick roller also tends to bridge across these grooves rather than following the contours, leaving unsealed low spots. Use a 3/8-inch nap solvent-resistant roller, or better yet, spray first and back-roll.
Mistake 4: Ignoring Wind
Wind is the invisible saboteur. A modest breeze during application carries dust, pollen, leaf fragments, and insect matter onto the wet sealer surface. These contaminants are captured permanently as the sealer cures. We schedule sealing for calm days only and will not proceed if sustained winds exceed 15 km/h.
How to Fix Cloudy, White, or Peeling Sealer
If you are reading this article because your sealer has already failed—if your driveway has turned white, cloudy, or is flaking off in patches—there is good news. It is fixable. But the fix is not "apply more sealer." The fix is a controlled corrective process.
For minor blushing (small, localized white patches): In some cases, a light re-application of xylene (the solvent) alone, without additional sealer, can re-dissolve and re-level the existing acrylic film. The xylene melts the trapped moisture pockets and allows the film to re-fuse into a clear state. This is a targeted, surgical correction, not a blanket re-coat.
For severe blushing, widespread peeling, or heavy build-up: The only reliable remedy is a full chemical strip-down to bare concrete, followed by a clean reseal using the two-coat protocol described above. This is a reset. It is the most labor-intensive option, but it produces a factory-fresh result and is, in our experience, the only permanent solution to a badly failed sealer job.
Don't risk turning your driveway white with cheap sealers. Contact Cinintiriks for commercial-grade stamped concrete cleaning and professional restorative sealing.
FAQ: Resealing Stamped Concrete
How often do I need to reseal my stamped concrete in Ontario?
In the Greater Toronto Area, the general guideline is every 2 to 3 years. However, this timeline depends heavily on exposure conditions. A south-facing driveway that receives intense afternoon sun and heavy vehicle traffic will degrade its sealer coat faster than a shaded backyard patio that sees only foot traffic. The visual test is straightforward: sprinkle water on the surface. If it beads up and sits on top, your sealer is functioning. If the water soaks in and darkens the concrete, the sealer has worn through and resealing is overdue. Surfaces that are routinely exposed to de-icing salts through the winter months may warrant annual inspection and spot-treatment in high-wear areas, even if the broader surface is holding.
My old sealer is turning white and flaky. Can I just roll new sealer over it?
No. This is the single most common mistake homeowners make, and it virtually guarantees a worse outcome. When sealer turns white (blushing) or becomes flaky (delamination), the bond between the sealer film and the concrete substrate has already been compromised by trapped moisture, UV degradation, or both. Applying a new coat on top of this failed layer means the new sealer bonds to the old, compromised film—not to the concrete. The old layer will continue to fail, and when it does, both layers will lift and peel together. The correct procedure is to chemically strip the failed sealer entirely, clean and dry the bare concrete, and then apply a fresh two-coat sealer system. It is more work upfront, but it is the only path to a durable, beautiful result.
What temperature does it need to be to seal concrete?
The ideal application window for solvent-based acrylic sealers is when the ambient air temperature is between 10°C and 30°C, and the concrete surface temperature is within the same range. Below 10°C, the solvent evaporates too slowly, which can cause the sealer to cure improperly, remain tacky, or blush white. Above 30°C, the solvent flashes off too rapidly, preventing adequate penetration into the pores and causing the sealer to form a brittle, poorly-bonded surface skin. Equally important: the concrete surface temperature must be above the dew point to prevent invisible condensation from forming on the surface, which will cause immediate blushing upon sealer contact. In practical terms for Ontario, the best sealing months are May, June, September, and early October. We always verify conditions with calibrated instruments before beginning any application.
The Final Word
Resealing stamped concrete is not a chore. It is an act of preservation. When done correctly—with the right preparation, the right chemistry, and the right technique—it restores the full depth, color, and brilliance of your investment. It protects the surface from the relentless assault of Ontario's climate. And it adds years of life to one of the most prominent features of your property's curb appeal.
When done poorly, it creates a problem that is worse than the one you were trying to solve. Cloudy, peeling, bubbling sealer is more unsightly than a bare, unsealed surface. And correcting that failure costs significantly more than doing it right the first time.
The choice, as always, is between doing it once and doing it right, or doing it twice and paying double. At Cinintiriks, we've built our reputation on the former.